Organize Your Kitchen Pantry with Floating Shelves

Most people think a pantry needs heavy, bulky cabinetry to stay organized, but that's a mistake. Relying solely on standard cabinets often creates "dead zones" where items get lost in the back or hidden behind heavy doors. Floating shelves solve this by opening up your vertical space and making everything visible. This post breaks down how to select, install, and style floating shelves to turn a cluttered pantry into a high-functioning storage system.
Why Choose Floating Shelves Over Standard Pantry Shelving?
Floating shelves provide better visibility and more flexible storage options than traditional fixed shelving units. When you use floating shelves, you eliminate the bulky brackets and side supports that often eat up precious inches in a small pantry. This creates a cleaner look—and honestly, it makes it much harder to "hide" expired cans at the back of a shelf.
The biggest advantage is the ability to customize the height of each tier based on what you actually own. If you have a tall stack of glass jars or a bulky bag of flour, you can adjust the spacing. Standard shelving often leaves you with awkward gaps or, worse, cramped spaces that force you to stack items precariously.
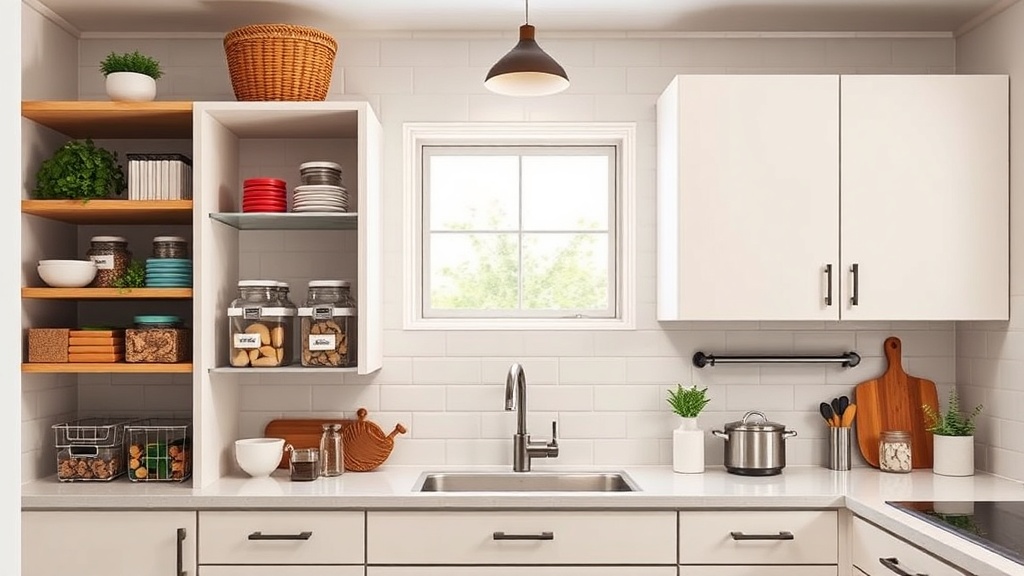
Floating shelves also make a small pantry feel larger. By removing the visual weight of heavy cabinet doors, you allow light to circulate through the space. This is a big deal if your pantry is tucked into a dark corner or a narrow hallway. It's a simple trick that makes a massive difference in how a room feels.
If you're working with a particularly tight area, you might want to check out small space storage strategies to see how much more you can squeeze out of your square footage.
How Much Do Floating Shelves Cost to Install?
The cost of floating shelves varies widely, typically ranging from $50 for basic wood planks to over $500 for high-end designer-grade materials and professional installation. You can certainly do this yourself on a budget, but your total spend depends on three main factors: the material, the mounting hardware, and your labor.
Here is a breakdown of what you can expect to spend depending on the route you take:
| Option Type | Estimated Material Cost | Installation Method | Best For |
|---|---|---|---|
| DIY Basic (Pine/MDF) | $20 - $60 | Standard wall anchors | Budget-friendly pantry updates |
| Mid-Range (Oak/Walnut) | $80 - $200 | Heavy-duty hidden brackets | A polished, high-end look |
| Professional Custom | $400+ | Professional carpenter | Built-in, seamless aesthetics |
Don't forget to account for the hardware. If you're mounting these into drywall without hitting a stud, you'll need high-quality anchors. I always recommend using toggle bolts if you aren't hitting a stud—they are much more reliable than the cheap plastic ones that come in many kits. It's a small detail, but it's the difference between a shelf that holds a jar of peanut butter and one that ends up on the floor.
What Are the Best Materials for Pantry Shelving?
The best material for your pantry depends on whether you prioritize durability, moisture resistance, or aesthetics. Since pantries are high-traffic areas where things get knocked around, you need something that can handle a bit of a beating.
Here are the top three materials I recommend for different pantry-specific needs:
- Solid Wood (Oak, Maple, or Walnut): These are incredibly durable and look beautiful. If you want a "warm" kitchen feel, go with wood. Just be sure to seal them properly to prevent stains from leaking spices or oils.
- Metal (Steel or Aluminum): Metal shelves are perfect for a modern, industrial look. They are nearly indestructible and easy to wipe down. If you have a heavy pantry with lots of canned goods, metal is a great choice.
- Acrylic or Tempered Glass: These are great for visual lightness. However, they can be tricky to keep clean. A single spill on a glass shelf can be a nightmare to scrub off if it dries.
If you're looking for a specific aesthetic, brands like IKEA offer great entry-level options like the Berg столе or various metal bracket systems that look much more expensive than they are. For something more heavy-duty, look into the types of shelving used in commercial kitchens, which are designed to hold massive weight without bowing.
How to Install Floating Shelves Safely
To install floating shelves safely, you must ensure that your mounting hardware is strong enough to support the weight of your pantry items and that you are anchoring into a wall stud whenever possible. A shelf that looks great but sags under the weight of a heavy stand mixer is a failure.
- Find the Studs: Use a stud finder to locate the wooden supports behind your drywall. This is the most important step. If you can't hit a stud, you must use heavy-duty toggle bolts.
- Level the Shelf: Never trust your eyes. Use a bubble level to ensure the shelf is perfectly flat before you drill. A slight tilt will cause your jars to slide and eventually fall.
- Pre-drill Holes: To prevent the wood from splitting, always pre-drill your holes. It's a small step that saves a lot of frustration.
- Secure the Brackets: Attach the mounting bracket to the wall first. If you're using a "hidden" bracket system, make sure the bracket is seated firmly before sliding the shelf on.
- Test the Weight: Once installed, don't load it all at once. Start with light items, then gradually add more to see how the shelf handles the load.
One thing to watch out for: many "floating" shelves sold online are actually just hollow boxes that slide over a bracket. These are great for decor, but they aren't great for heavy pantry staples like flour or sugar. If you're storing heavy items, look for solid wood or metal-reinforced options.
How to Organize Items on Your New Shelves
Organization is about more than just putting things in a line; it's about grouping by frequency of use and accessibility. Even with the best shelving, a pantry can become a mess if you don't have a system in place.
I've found that using containers is the secret to keeping the "floating" look organized rather than cluttered. Instead of having loose bags of pasta or half-empty boxes of cereal, move them into uniform containers. This creates a cohesive look and prevents the "visual noise" that makes a pantry look messy.
Try grouping items by category:
- Baking Essentials: Use clear canisters for flour, sugar, and cocoa powder.
- Grains and Pasta: Use airtight-sealed containers to keep pests out and keep things looking neat.
- Daily Use: Keep things like coffee, tea, or frequently used oils on the most accessible middle shelves.
- Snacks: Use baskets or bins for smaller, loose items like granola bars or snack bags.
A pro tip? Use a label maker. It sounds a bit intense, but labeling your bins makes it much easier for everyone in the house to put things back where they belong. It takes the guesswork out of "where does this go?"
If you're looking for ways to manage your inventory as you organize, it might help to think about your vertical space as a living system. You aren't just storing things; you're managing a resource. If your pantry is small, you'll need to be even more intentional about what stays on the shelves and what gets moved to a different storage area.
Steps
- 1
Measure your wall space and shelf depth
- 2
Select a bracket style that matches your decor
- 3
Group similar items in uniform containers
- 4
Arrange items by frequency of use